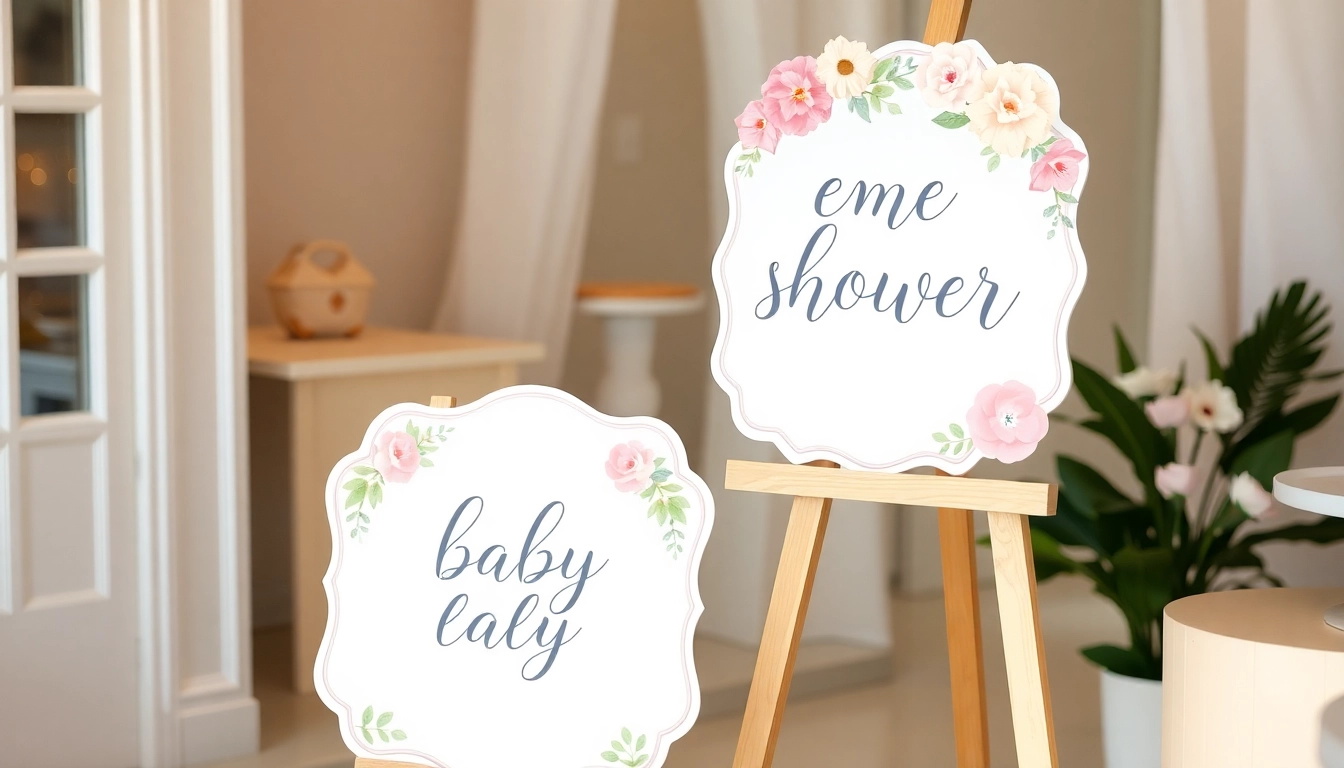
Creating a Memorable First Impression with the Perfect Baby Shower Welcome Sign
Planning a baby shower is an exciting journey filled with anticipation, joy, and creative possibilities. One of the key elements that set the tone for the celebration is the baby shower welcome sign. This welcoming focal point not only greets guests but also introduces the theme, mood, and style of the event. In this comprehensive guide, we explore every facet of designing, implementing, and optimizing your baby shower welcome sign to ensure it leaves a lasting impression and harmonizes beautifully with your overall decor.
Understanding the Role of a Baby Shower Welcome Sign
Why a Welcome Sign Sets the Tone for Your Celebration
First impressions matter, and your welcome sign is the first physical element that greets guests upon arrival. It acts as an introductory statement, establishing your chosen theme, tone, and atmosphere. Whether your celebration is whimsical, elegant, rustic, or modern, a thoughtfully designed welcome sign communicates the essence of your event instantly.
An engaging welcome sign does more than just say ‘hello.’ It creates a sense of anticipation, encourages interaction, and enhances the ambiance. Guests are more likely to feel at ease and immersed in the celebration from the moment they see the sign, setting a joyful and festive tone that permeates the entire event.
Different Styles and Themes to Match Your Baby Shower
The style of your welcome sign should mirror the overall theme of your baby shower. For example:
- Elegant and Classic: Use soft pastel colors, sophisticated fonts, and sleek materials like acrylic or metal for a polished look.
- Rustic and Boho: Incorporate natural textures such as wood, burlap, or chalkboard backgrounds, paired with hand-lettered fonts.
- Whimsical and Cute: Bright colors, playful fonts, and adorable graphics, such as animals or baby items, create a fun atmosphere.
- Modern and Minimalist: Simple lines, monochromatic palettes, and clean typography craft a sleek and stylish aesthetic.
Customization options allow you to align the welcome sign perfectly with your unique theme, whether it’s a gender reveal, nursery rhyme, or pop culture-inspired celebration.
Key Features of Eye-Catching Welcome Signs
An effective baby shower welcome sign combines visual appeal with clarity. Essential features include:
- Readable Fonts: Use large, clear typefaces so that guests can easily read the sign from a distance.
- Complementary Colors: Choose hues that enhance your decor palette for cohesive aesthetics.
- High-Quality Materials: Durable, attractive materials like acrylic, wood, or MDF elevate the overall look.
- Personalization: Including the baby’s name, last name, or special message adds a heartfelt touch.
- Easy Placement: Design with visibility in mind, ensuring the sign can be prominently displayed upon entry.
These elements ensure your welcome sign isn’t just beautiful but also functional and impactful.
Designing the Perfect Baby Shower Welcome Sign
Choosing Colors, Fonts, and Materials
The design process begins with selecting the right visual elements. Colors should match or complement your overall color scheme—soft pastels for a gentle vibe, bold hues for lively energy. Consider using color psychology to evoke specific emotions; for instance, blue and pink are traditional, while mint green or yellow can add freshness.
Fonts should balance aesthetics with readability. Script fonts lend elegance, but sparing use for headings; pairing with sans-serif fonts for body text improves clarity. Materials like acrylic provide a sleek look, wood offers warmth and rustic charm, and foam board is budget-friendly; select based on style, durability, and budget.
Incorporating Personalization and Custom Elements
Personalized signs resonate more deeply with guests. Include the baby’s name, expected arrival date, or family name to make the sign uniquely theirs. Custom illustrations, icons, or monograms add flair. For a modern touch, incorporate digital elements such as QR codes linking to event details or social media hashtags.
Consider seasonal or thematic motifs—balloons, clouds, baby animals, or floral arrangements—that align with your theme. Use professional graphic design tools or platforms for a polished finish, or DIY with printable templates for a budget-friendly approach.
DIY vs. Professional Printing Options
Deciding between DIY and professional printing depends on your skill level, timeline, and desired quality. DIY options include printable templates, which you can customize online and print at home or a local print shop. These are cost-effective, quick, and flexible.
Professional printing offers superior quality, durability, and finish options like matte, gloss, or foil accents. Local print shops or online services can produce intricate designs on high-quality materials, though they may come with higher costs and longer lead times.
Balance your needs by considering factors such as craftsmanship, budget, and the importance of a perfect finish.
Placement and Display Tips for Maximum Impact
Best Locations to Showcase Your Sign
Strategic placement maximizes visibility. Position your welcome sign at the entrance, ensuring it is level and unobstructed. Consider the flow of guest movement; placing it near the door or pathway directs attention as guests arrive.
If your venue has multiple entry points, decide on a primary entrance or utilize multiple signs for consistency. Elevate the sign on stands or easels to prevent it from being hidden by decor or furniture.
Size Considerations and Stand Options
Size should be proportional to the space and viewing distance. A typical welcome sign is between 24″x36″ and 36″x48″ for outdoor settings, larger if intended to be a focal point. For smaller venues, smaller signs or tabletop displays suffice.
Stand options include:
- A-Frame Stands: Portable and stable, ideal for outdoor or entry displays.
- Tabletop Easels: Suitable for smaller signs or if you want to incorporate them into tables or stations.
- Wall Mounts: For venues with available walls or doors, stickers or mounts can create a clean look.
Enhancing Visibility with Additional Decor
Surround your sign with complementary decor like balloons, floral arrangements, banners, or fairy lights. These elements draw attention and reinforce your theme. Consider framing the sign with greenery or adding LED backlighting for night-time events.
Consistency in style and color ensures a cohesive and inviting atmosphere. Use lighting strategically to highlight your sign, especially in dim or indoor settings.
Cost-Effective Ideas for Baby Shower Welcome Signs
Free Printable Templates and Customization
To keep costs low, leverage free printable templates available online. Websites like Kate & Meri offer a wide selection of free downloadable signs that can be customized with your details and printed at home or locally. Personalization can be as simple as adding a personal message or the baby’s name via editing tools.
Printing on inexpensive cardstock or using online services offers professional finishing at a fraction of the cost of custom orders.
Affordable DIY Materials and Supplies
DIY signage materials include foam board, poster paper, or natural wood for rustic themes. Supplies like stencils, paint, markers, and adhesive letters enable personalization without high costs. For outdoor signs, weather-resistant materials or laminating can extend longevity.
Using resources like online tutorials can help amateurs create professional-looking signs on a budget.
Where to Find High-Quality, Budget-Friendly Signs
Online marketplaces such as Etsy feature customizable signs at various price points, often including options for quick turnaround. Major online retailers like Amazon also offer ready-made welcome signs suitable for immediate use.
Local print shops can be a cost-effective option for bulk printing or special finishes. Additionally, craft stores often carry DIY kits and printable materials that help customize signs affordably.
Measuring Success and Gathering Guest Feedback
Engaging Guests with Interactive Sign Elements
Incorporate interactive components such as chalkboard sections for guest messages, QR codes linking to registries or social media hashtags, or photo frames around your sign. These elements foster participation and create memorable moments.
Using Photos and Guest Interactions to Share on Social Media
Capture candid shots of guests with the welcome sign, especially when it includes fun props or personalized messages. Encourage guests to tag your event or use specific hashtags to amplify your celebration’s reach. Sharing these moments post-event boosts your event’s visibility and creates lasting memories.
Post-Event Evaluation and Improvements
After the shower, seek feedback from close friends or family about the sign’s visibility and aesthetic appeal. Note what worked well and any areas for improvement for future events. Maintain photos and reviews as inspiration for the next celebration.
Continuous refinement ensures your signage remains current, attractive, and effective.


